What is Vue Emit?
Ezekiel Lawson
7 Jan 2022
•
4 min read
Introduction
While It is strongly advised that you record all events emitted by each of your components. Vue $emit is a function that lets us emit, or send, custom events from a child component to its parent. because it is used to notify the parent component that something changed, It facilitates communication not only between the child and parent components, but also between sibling components who are separated., and it is the best way to trigger certain events.
Goal
Vue $emit can be used in a variety of ways in your code. But in this article, I'm going to explain what Vue Emit is and we'll explore how to use the vue $emit() function to handle custom emitted events, with a code example as well.
Prerequisites
This article assumes you have a basic understanding of Vue JS. But you don't need any prior experience handling custom emitted events as this tutorial will give you an in-depth explanation of what Vue $emit function is and how to handle custom emitted events.
This article will cover the following:
- Brief Intro to Vue Js
- Installation and Setup
- What is Vue $Emit?
- How does Vue $Emit work?
- Handling Custom events with vue $emit function
- Conclusion
Brief Intro to Vue Js
Vue is a user interface framework written in JavaScript. Its basic element is mostly concerned with the view layer, and it is quite simple to comprehend.
Installation and Setup
The following approach covers how to set your project or install Vue js. since we won't be working with any library in our application, let's move on to the installation of Vue Js.
Now, create your new Vue project with the following command:
vue create vue-custom-event
After that, navigate to the project in your terminal and start the Vue development server as follows:
Npm run serve
This will start the development server for our Vue project at the following port:
http://localhost:8080/
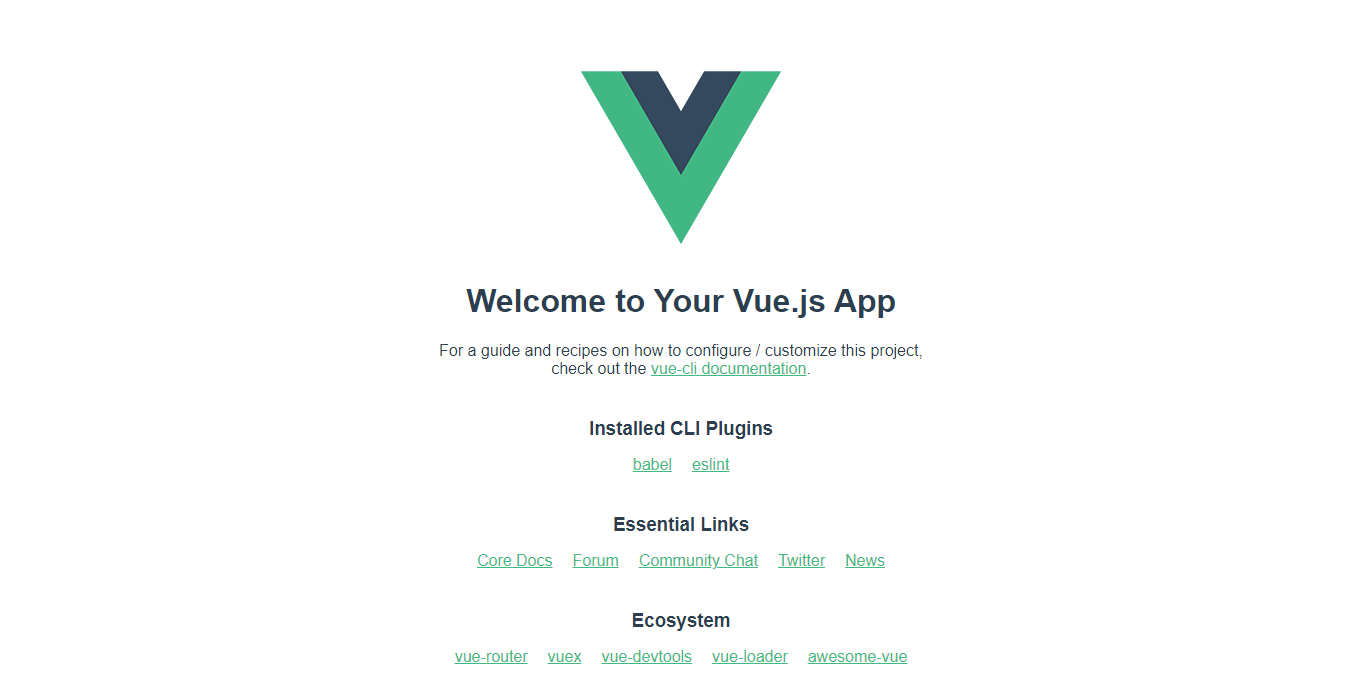
Here is the output of our application
What is Vue Emit?
Vue $emit is a function that lets us emit, or send, custom events from a child component to its parent. In a standard Vue flow, it is the best way to trigger certain events.
How does Vue Emit work?
The $emit function, to put it another way, allows us to send functions as props. Let's start by looking at how to create a custom event in Vue.js and then how to listen to it. In Vue.js, The following is the syntax for firing an event:
this.$emit('eventName')
We must be cautious when giving the event a name in this syntax since we will later listen to the event using the same name. We may listen to this event in the same way that we would listen to a click event in Vue.js. As an example
<BlogContent @displayData="fetchData"/>
We can write any expression in the inverted commas as well as a function. So, to better grasp it, let's look at a basic example.
Handling Custom Event with Vue $Emit function
Example
We will build a basic blog post to explain this part in this example.
Assume we have a parent component called BlogPage that has a child component called BlogContent to which we are passing the blog title and content via props.
<template>
  <section id="BlogPage">
    <BlogContent
          title="Introduction to CSS"
          content="CSS is a stylesheet language used to style the structure of our document"
        />
  </section>
</template>

<script>
import BlogContent from './components/BlogContent.vue'

export default {
name: 'BlogPage',
components: {
BlogContent
}
}
</script>
In the BlogContent component which is the child component, we are using props to show the title and content of our blog in the h1 and p tag.
<template>
  <section id="BlogPage">
    <h1 class="title-text">{{ title }}</h1>
    <p class="content-text">{{ content }}</p>
  </section>
</template>
// JS File
<script>
export default {
  name: "BlogContent",
  props: ["title", "content"],
};

</script>
After you've set up these two components, you're ready to go. Let's add a button to show more of our content. To accomplish this, we'll first create a button, and then call the displayContent method, which will show us more of the topic you're interested in reading about. Following the creation of the button, the HTML for the BlogContent would look like this:
<template>
  <section id="BlogPage">
    <h1 class="title-text">{{ title }}</h1>
    <p class="content-text">{{ content }}</p>
    <button v-on:click="displayContent" class="text-link">See More</button>
  </section>
</template>
Thereafter, in our method object displayContent, we build a function that will show more of the content that the readers want to see, and we name the event displayData and give it the data that we want it to display in our blog. That's all there is to it when it comes to triggering an event in Vue Js.
<script>
export default {
  name: "BlogContent",
  props: ["title", "content"],
  data() {},
  methods: {
    displayContent() {
      this.$emit("displayData", this.title);
    },
  },
};
</script>
In the preceding code example, we saw how to trigger an event, but there is still one thing missing: we need to listen to the event. In this example, we will create a function fetchData that returns the data's result. Next, we'll assign the given string to the result variable.
<script>
import BlogContent from "../components/BlogContent.vue";
export default {
  name: "BlogPage",
  components: {
    BlogContent,
  },
  data: () => ({
    result: "",
  }),
  methods: {
    fetchData(data) {
      this.result = data;
    },
  },
};
</script>


<template>
  <section id="BlogPage">
    <h1 class="heading-text">Welcome to my Blog</h1>
    <div class="parent-container">
      <div class="Card-body">
        <BlogContent
          title="Introduction to CSS"
          content="CSS is a stylesheet language used to style the structure of our document"
          @displayData="fetchData($event)"
        />
      </div>
      <div class="Card-body">
        <BlogContent
          title="What is $Emit in Vue Js"
          content="Vue $emit is a function that lets us emit, or send, custom events "
          @displayData="fetchData($event)"
        />
      </div>
      <div class="Card-body">
        <BlogContent
          title="Understanding Currying"
          content="Currying simply means evaluating functions with multiple arguments"
          @displayData="fetchData($event)"
        />
      </div>

    </div>
      <h4 class="result-text">Result: {{ result }}</h4>
  </section>
</template>
Next, we will bind the result variable in the template inside the BlogContent somewhere to see our data.
<h4 class="result-text">Result: {{ result }}</h4>
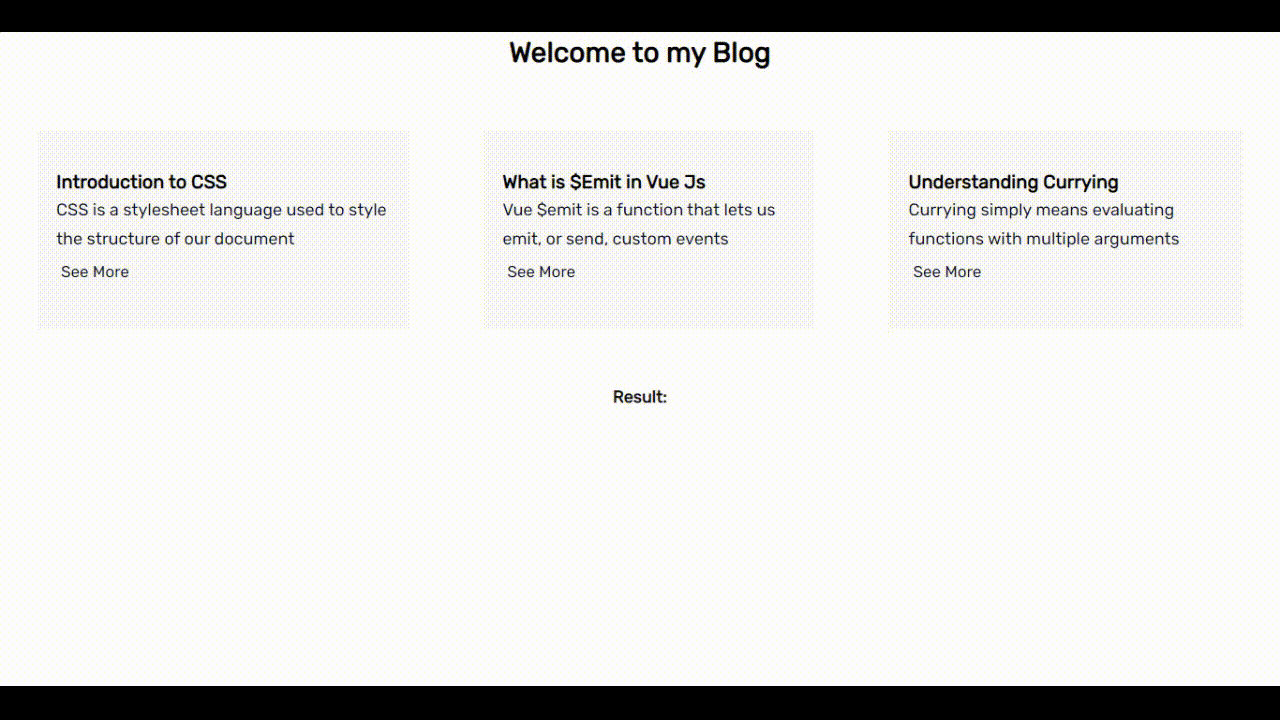
Now, let's see what our application looks like on the browser
In the output above, we can see the prop is displaying the title and content of our blog. Now if we click on the button to see more it displays the title of the blog.
Check out the demo
Conclusion
We covered how to emit custom events in Vue.js in this article. and include a step-by-step example with a brief explanation to help you understand it. Hopefully, this post has provided you with a better understanding of what Vue $Emit is and how to handle custom events in Vue.js.
WorksHub
Jobs
Locations
Articles
Ground Floor, Verse Building, 18 Brunswick Place, London, N1 6DZ
108 E 16th Street, New York, NY 10003
Subscribe to our newsletter
Join over 111,000 others and get access to exclusive content, job opportunities and more!


